Measurement is an integral part of scientific and technological progress and plays a key role in many sectors, from industrial production to research and development. In recent decades, measurement technologies have developed rapidly, bringing new capabilities and improvements to achieve higher accuracy and reliability of results. One of the most important and innovative techniques is laser measurement and calibration.
Laser measurement and calibration - reliable measurement
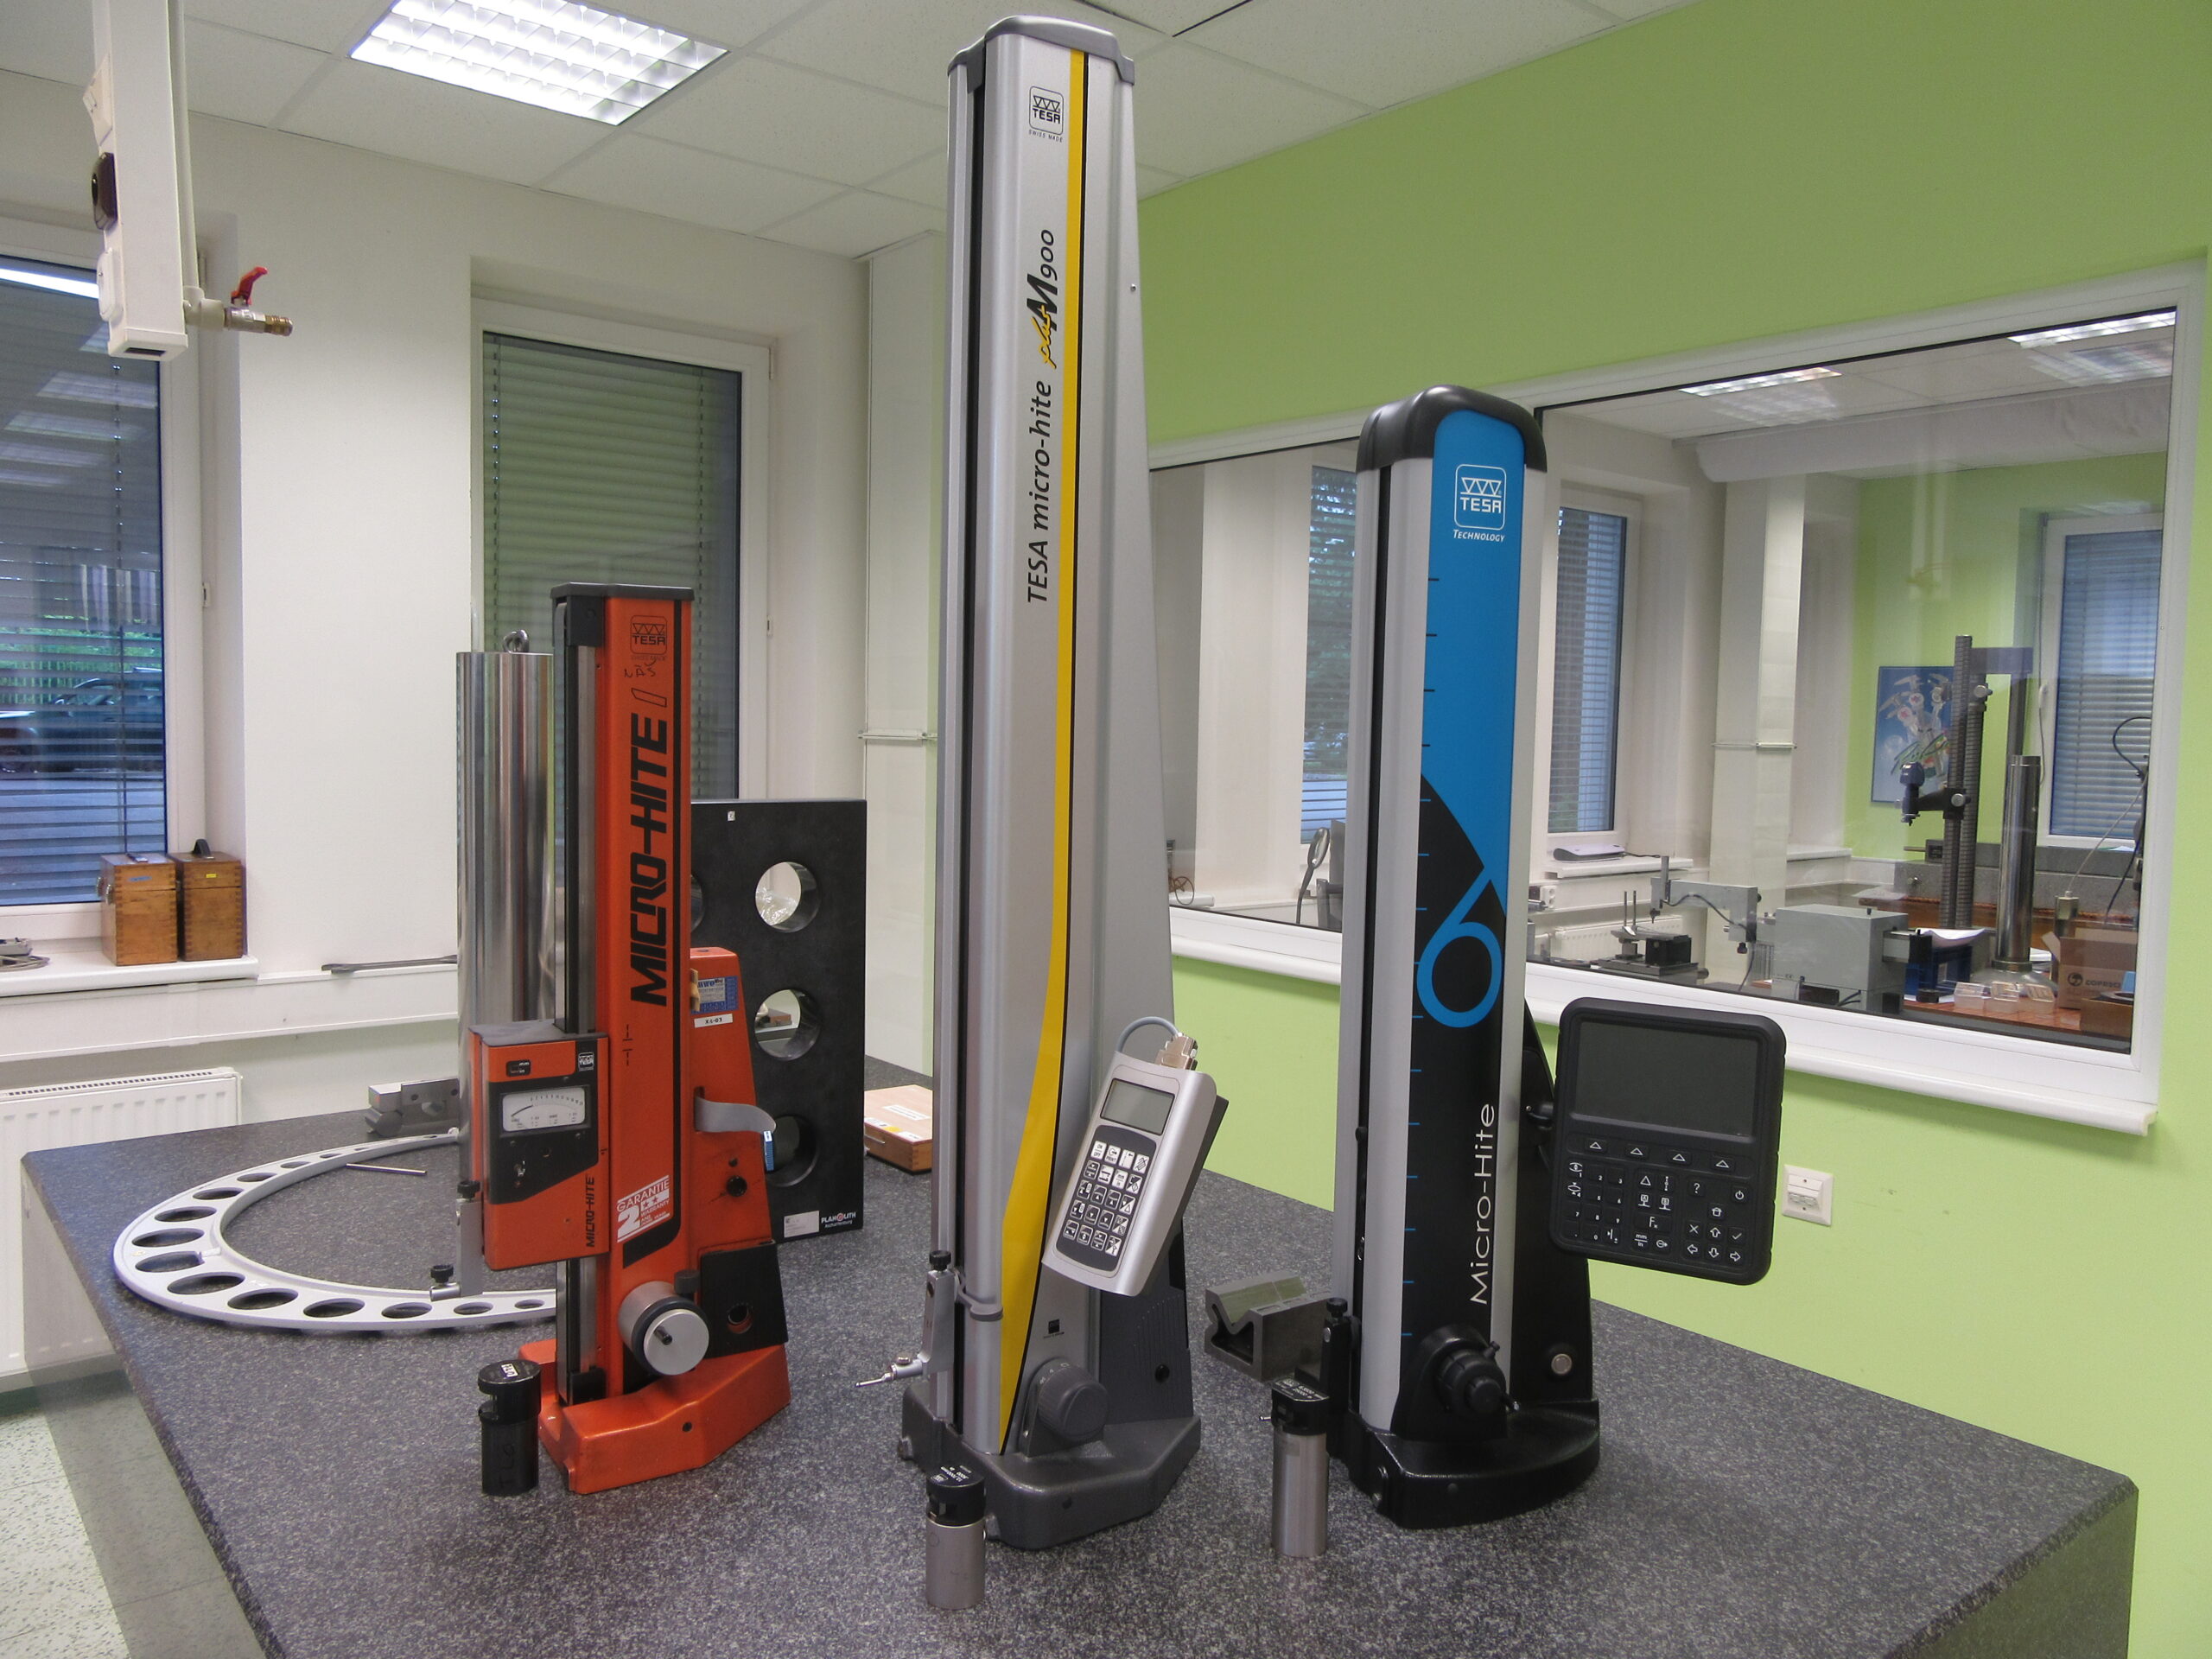
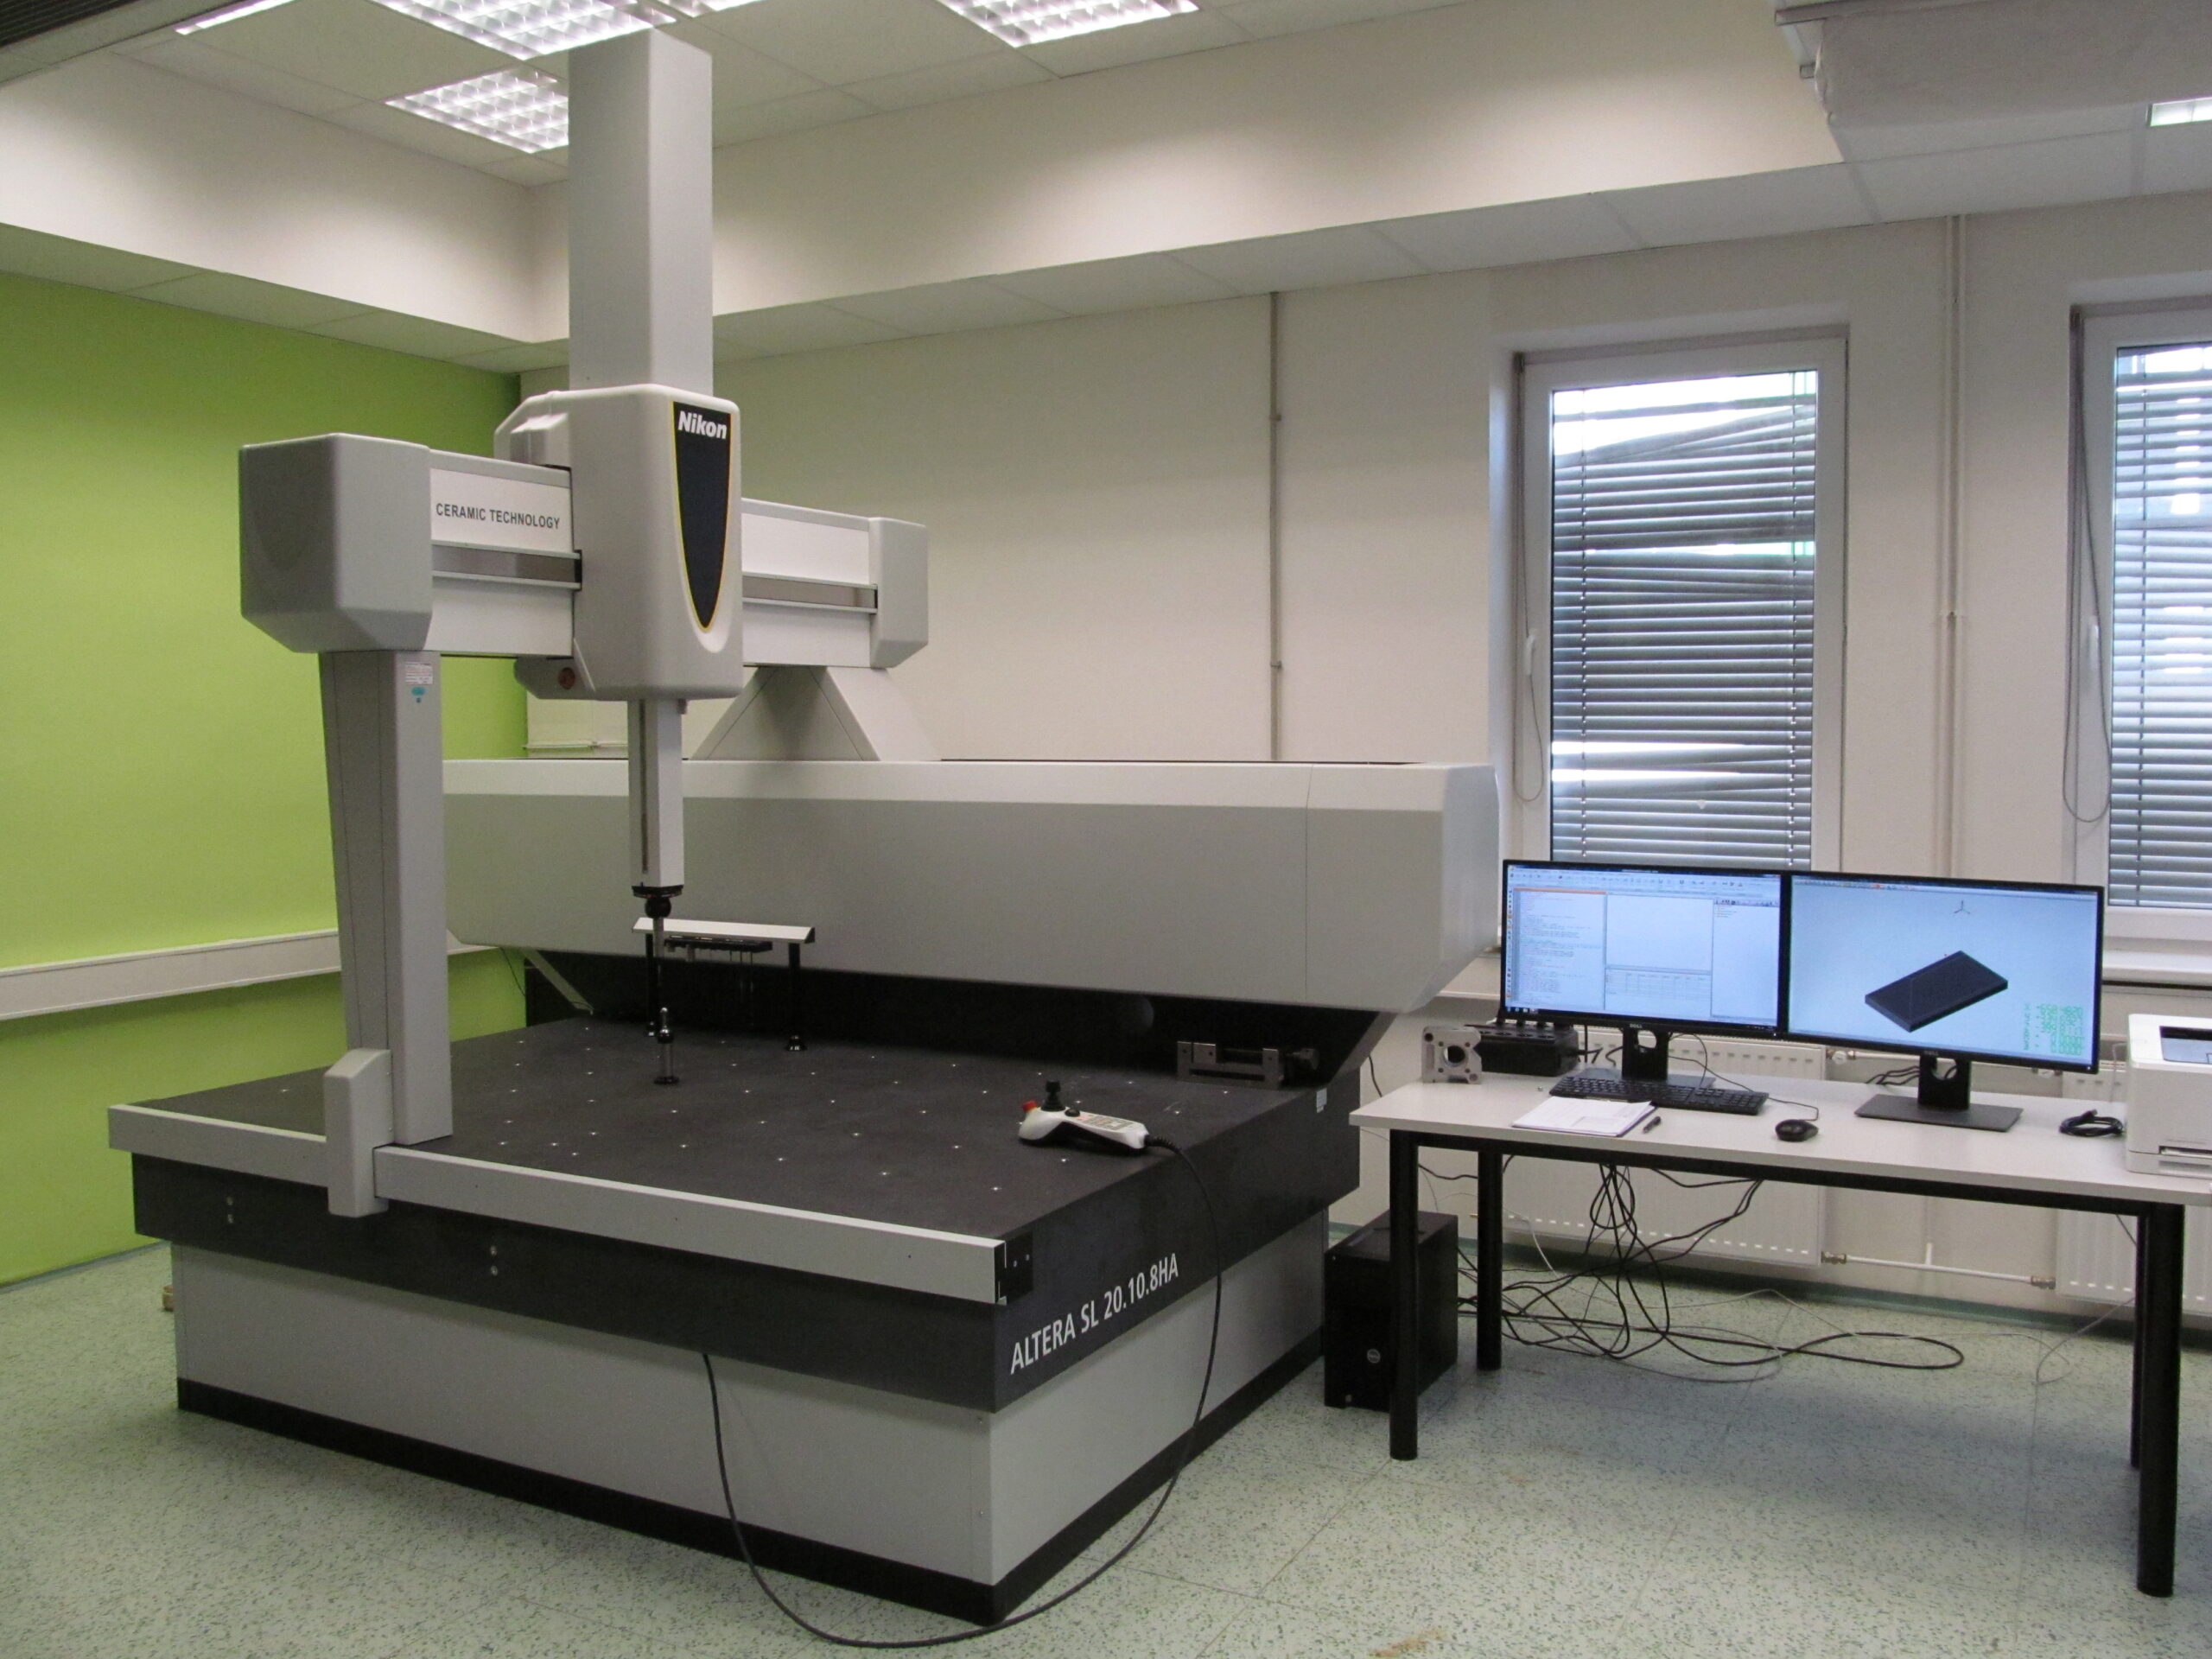
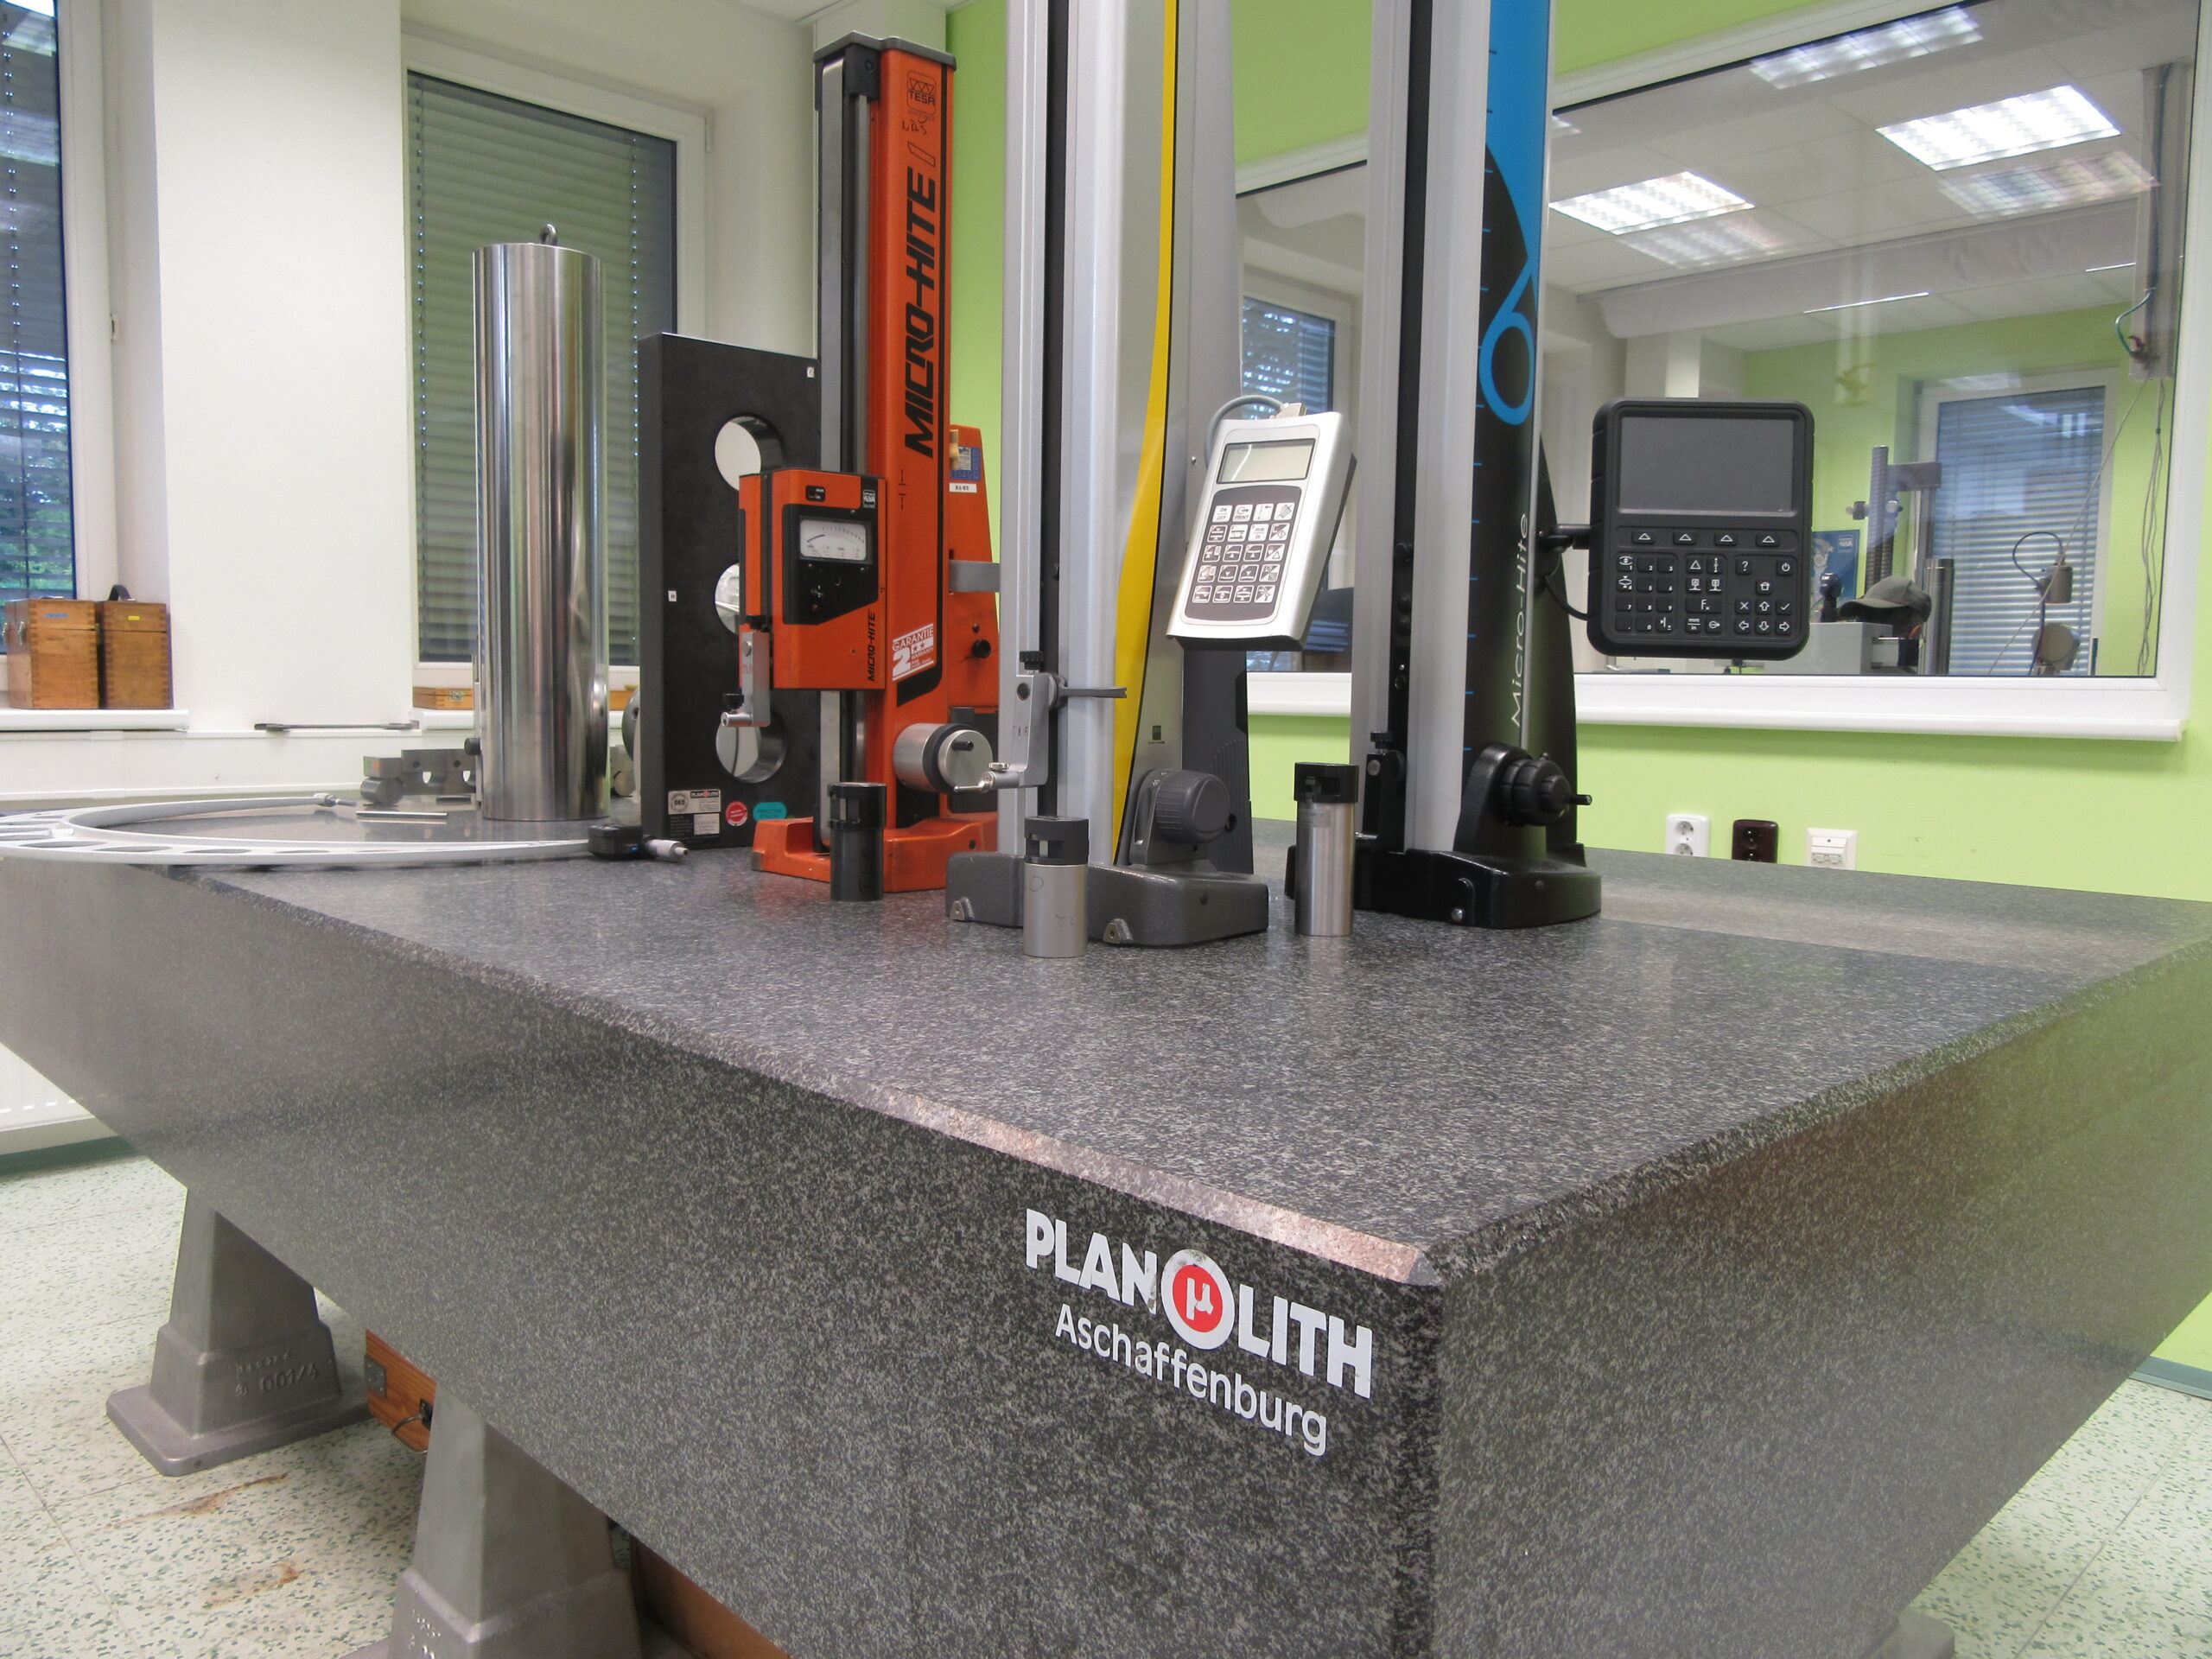
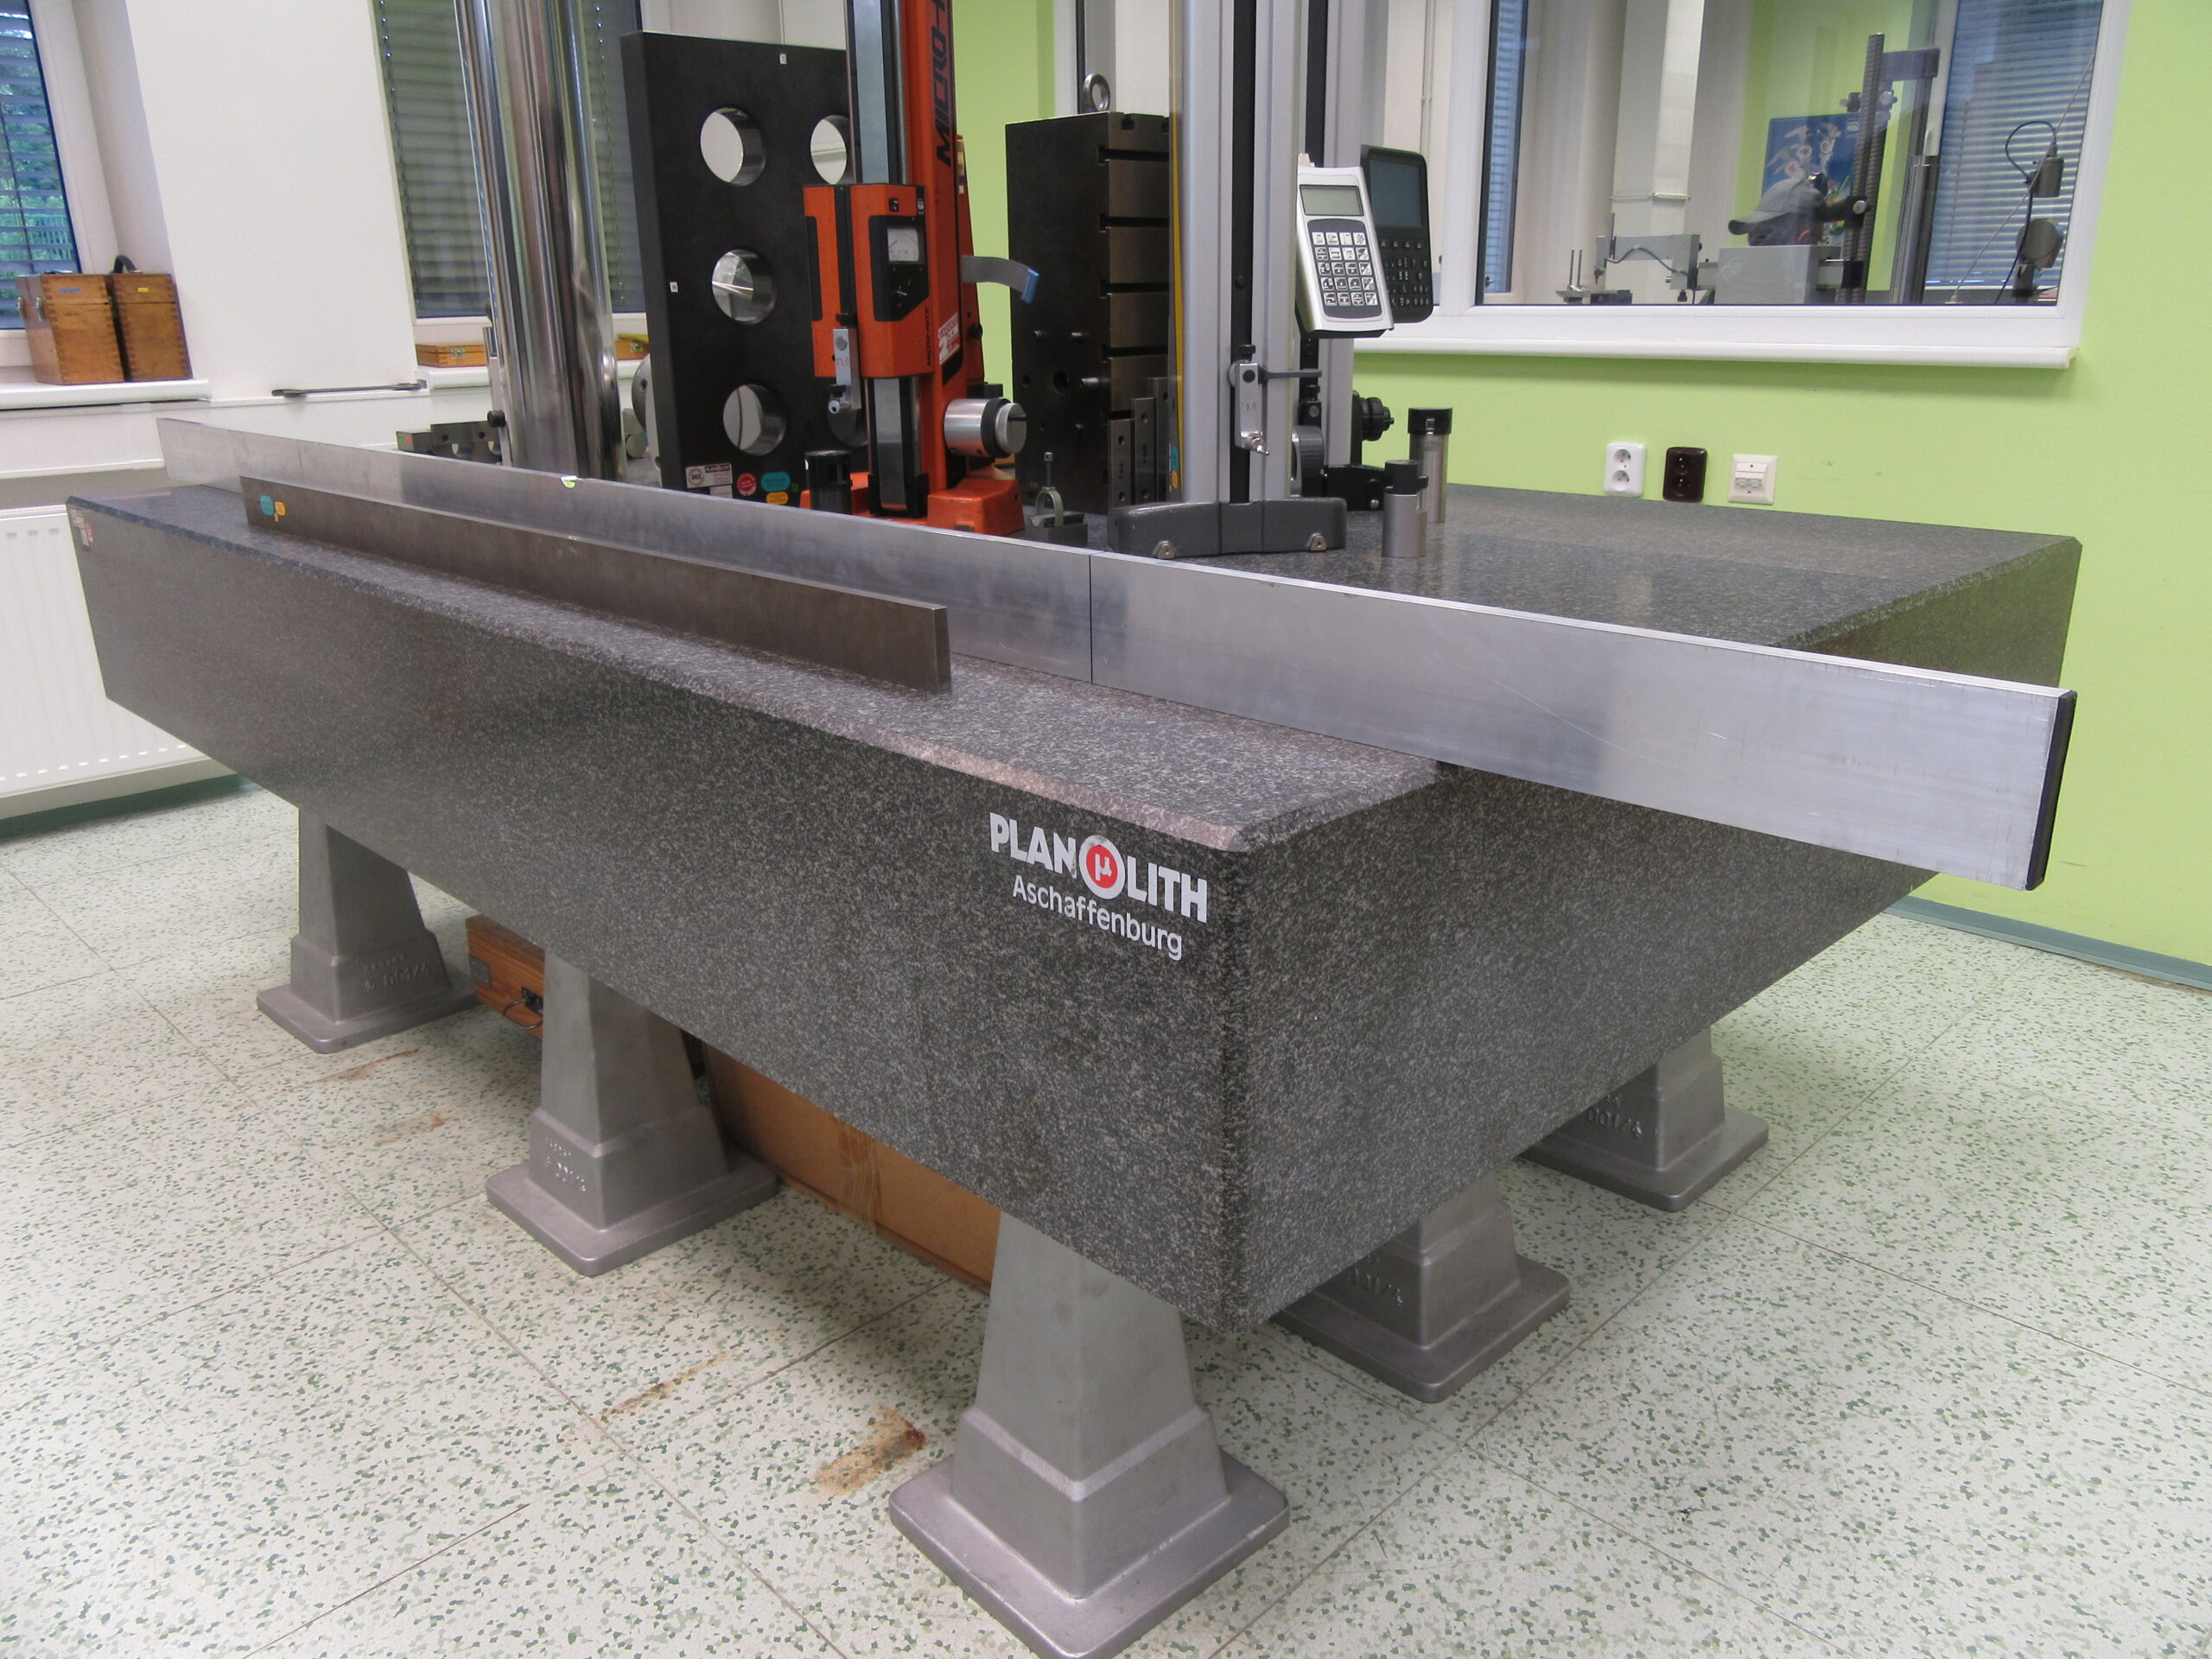
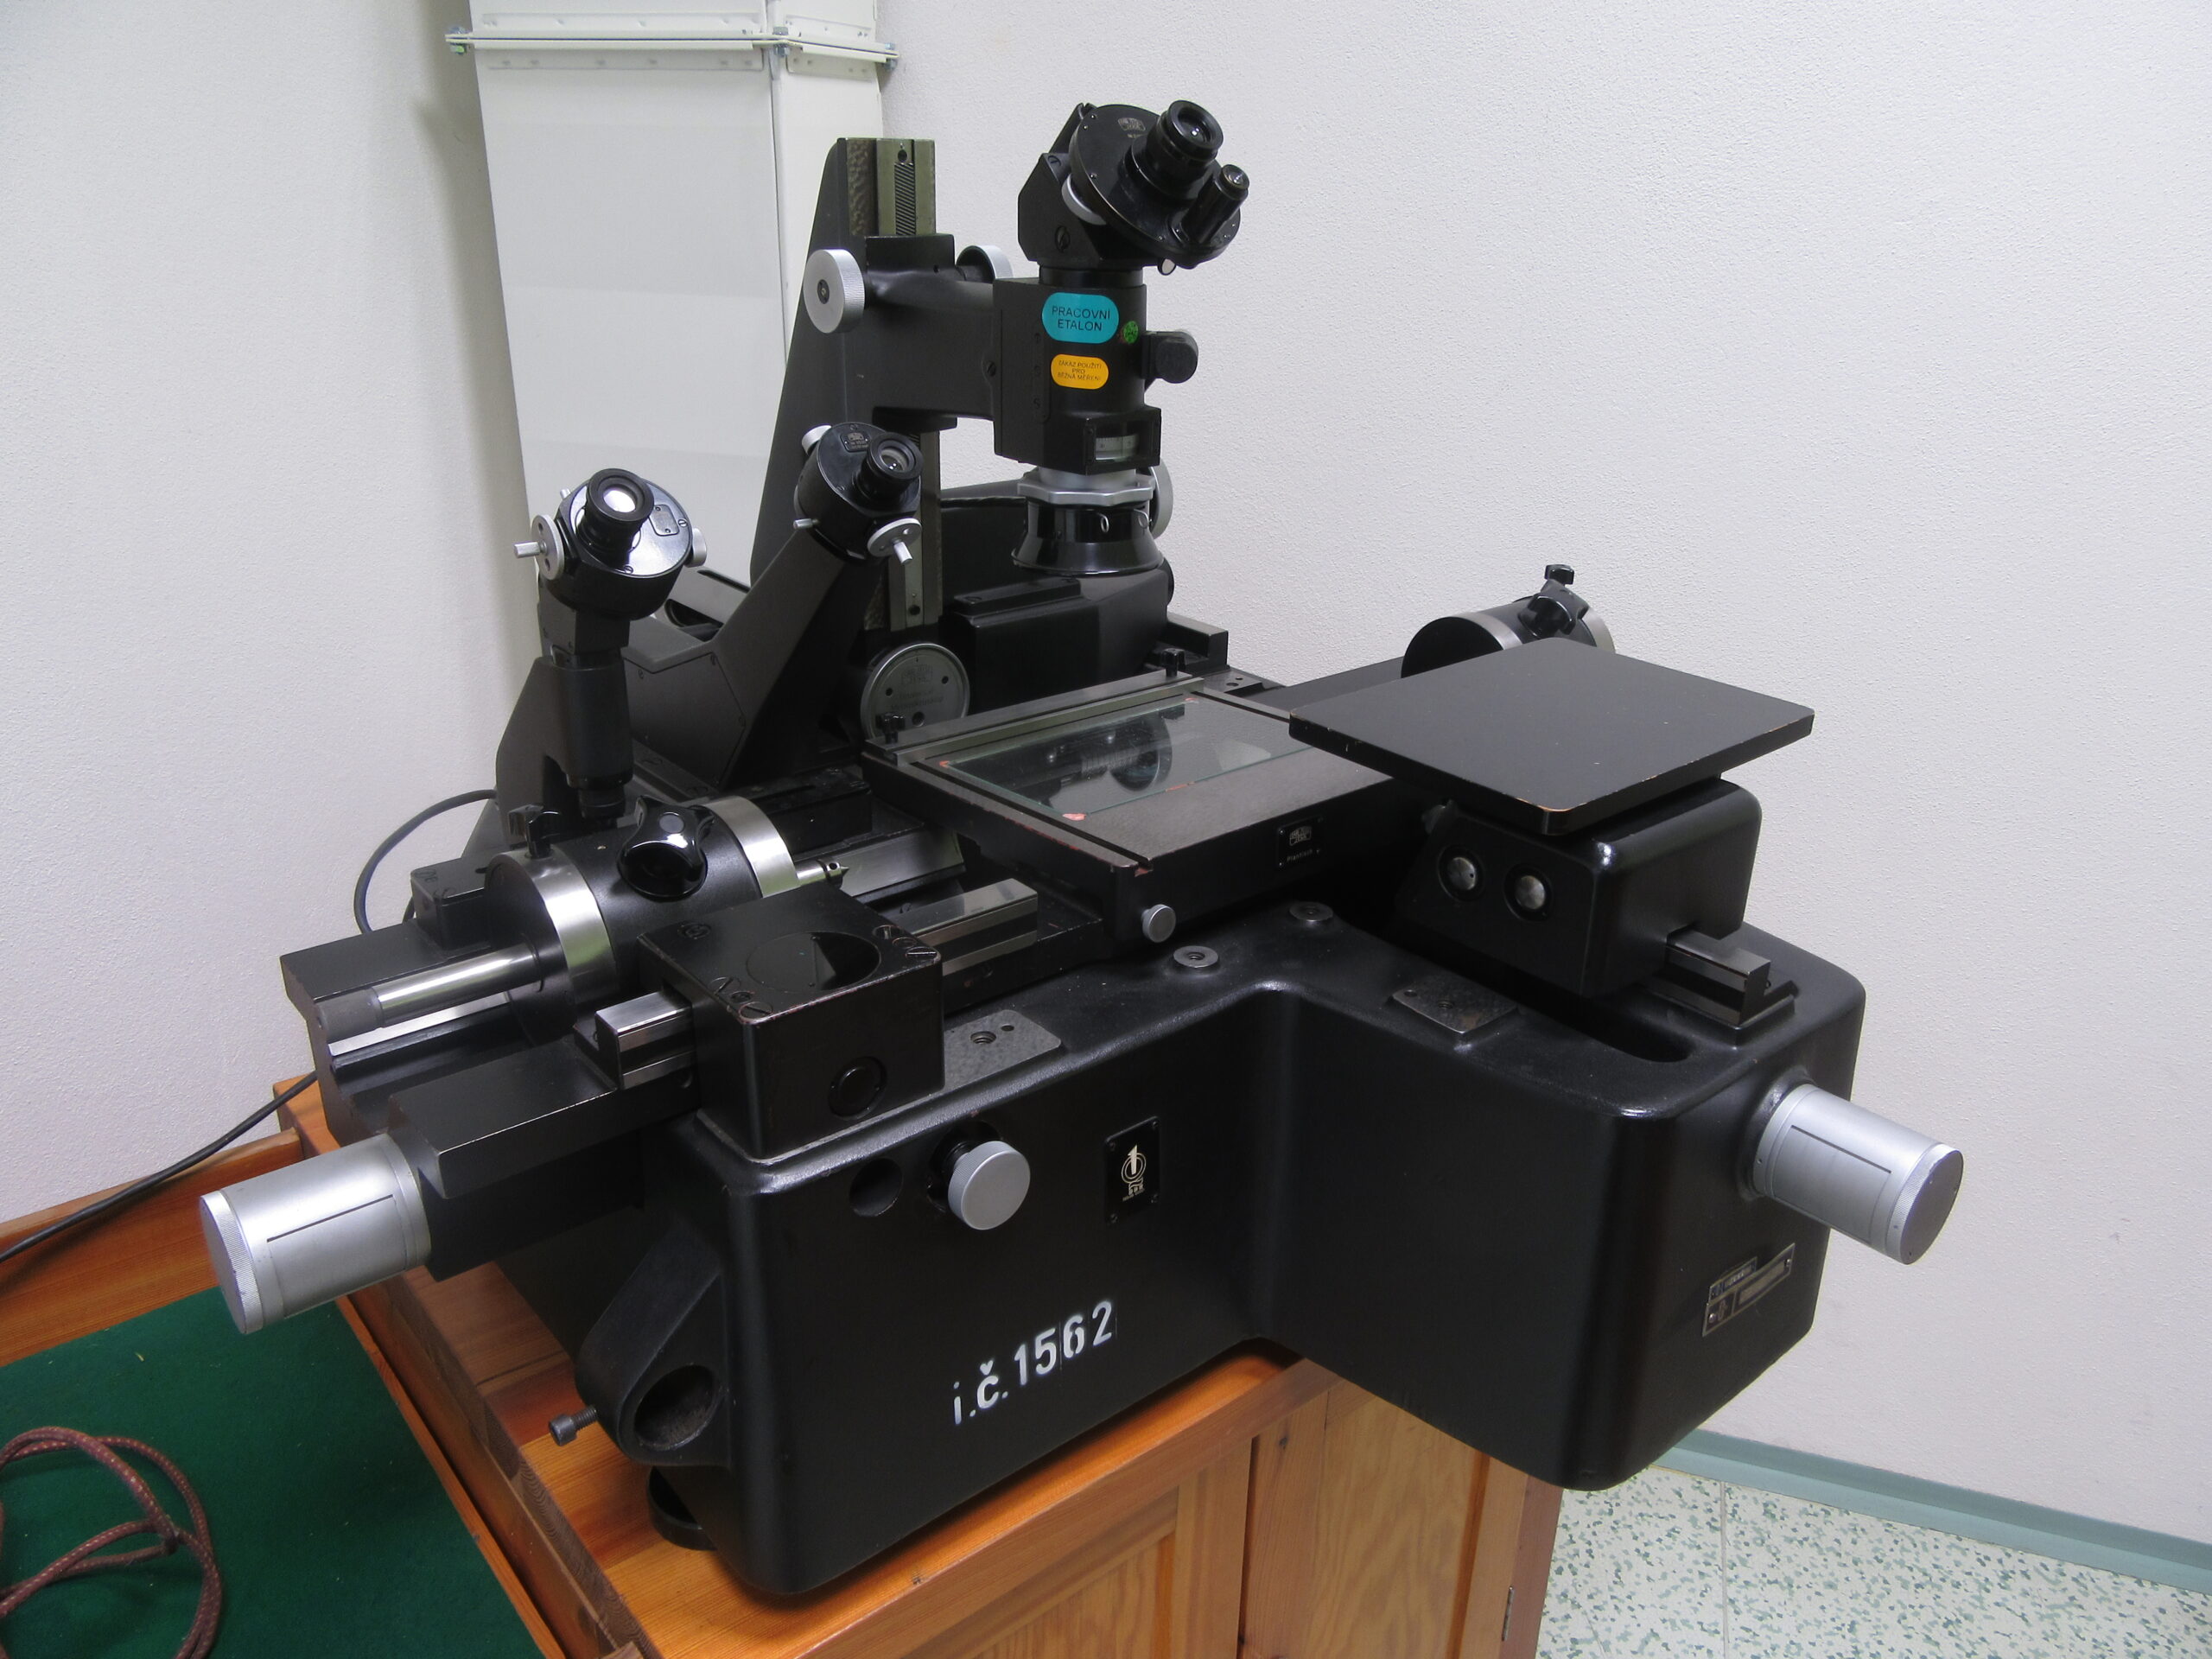
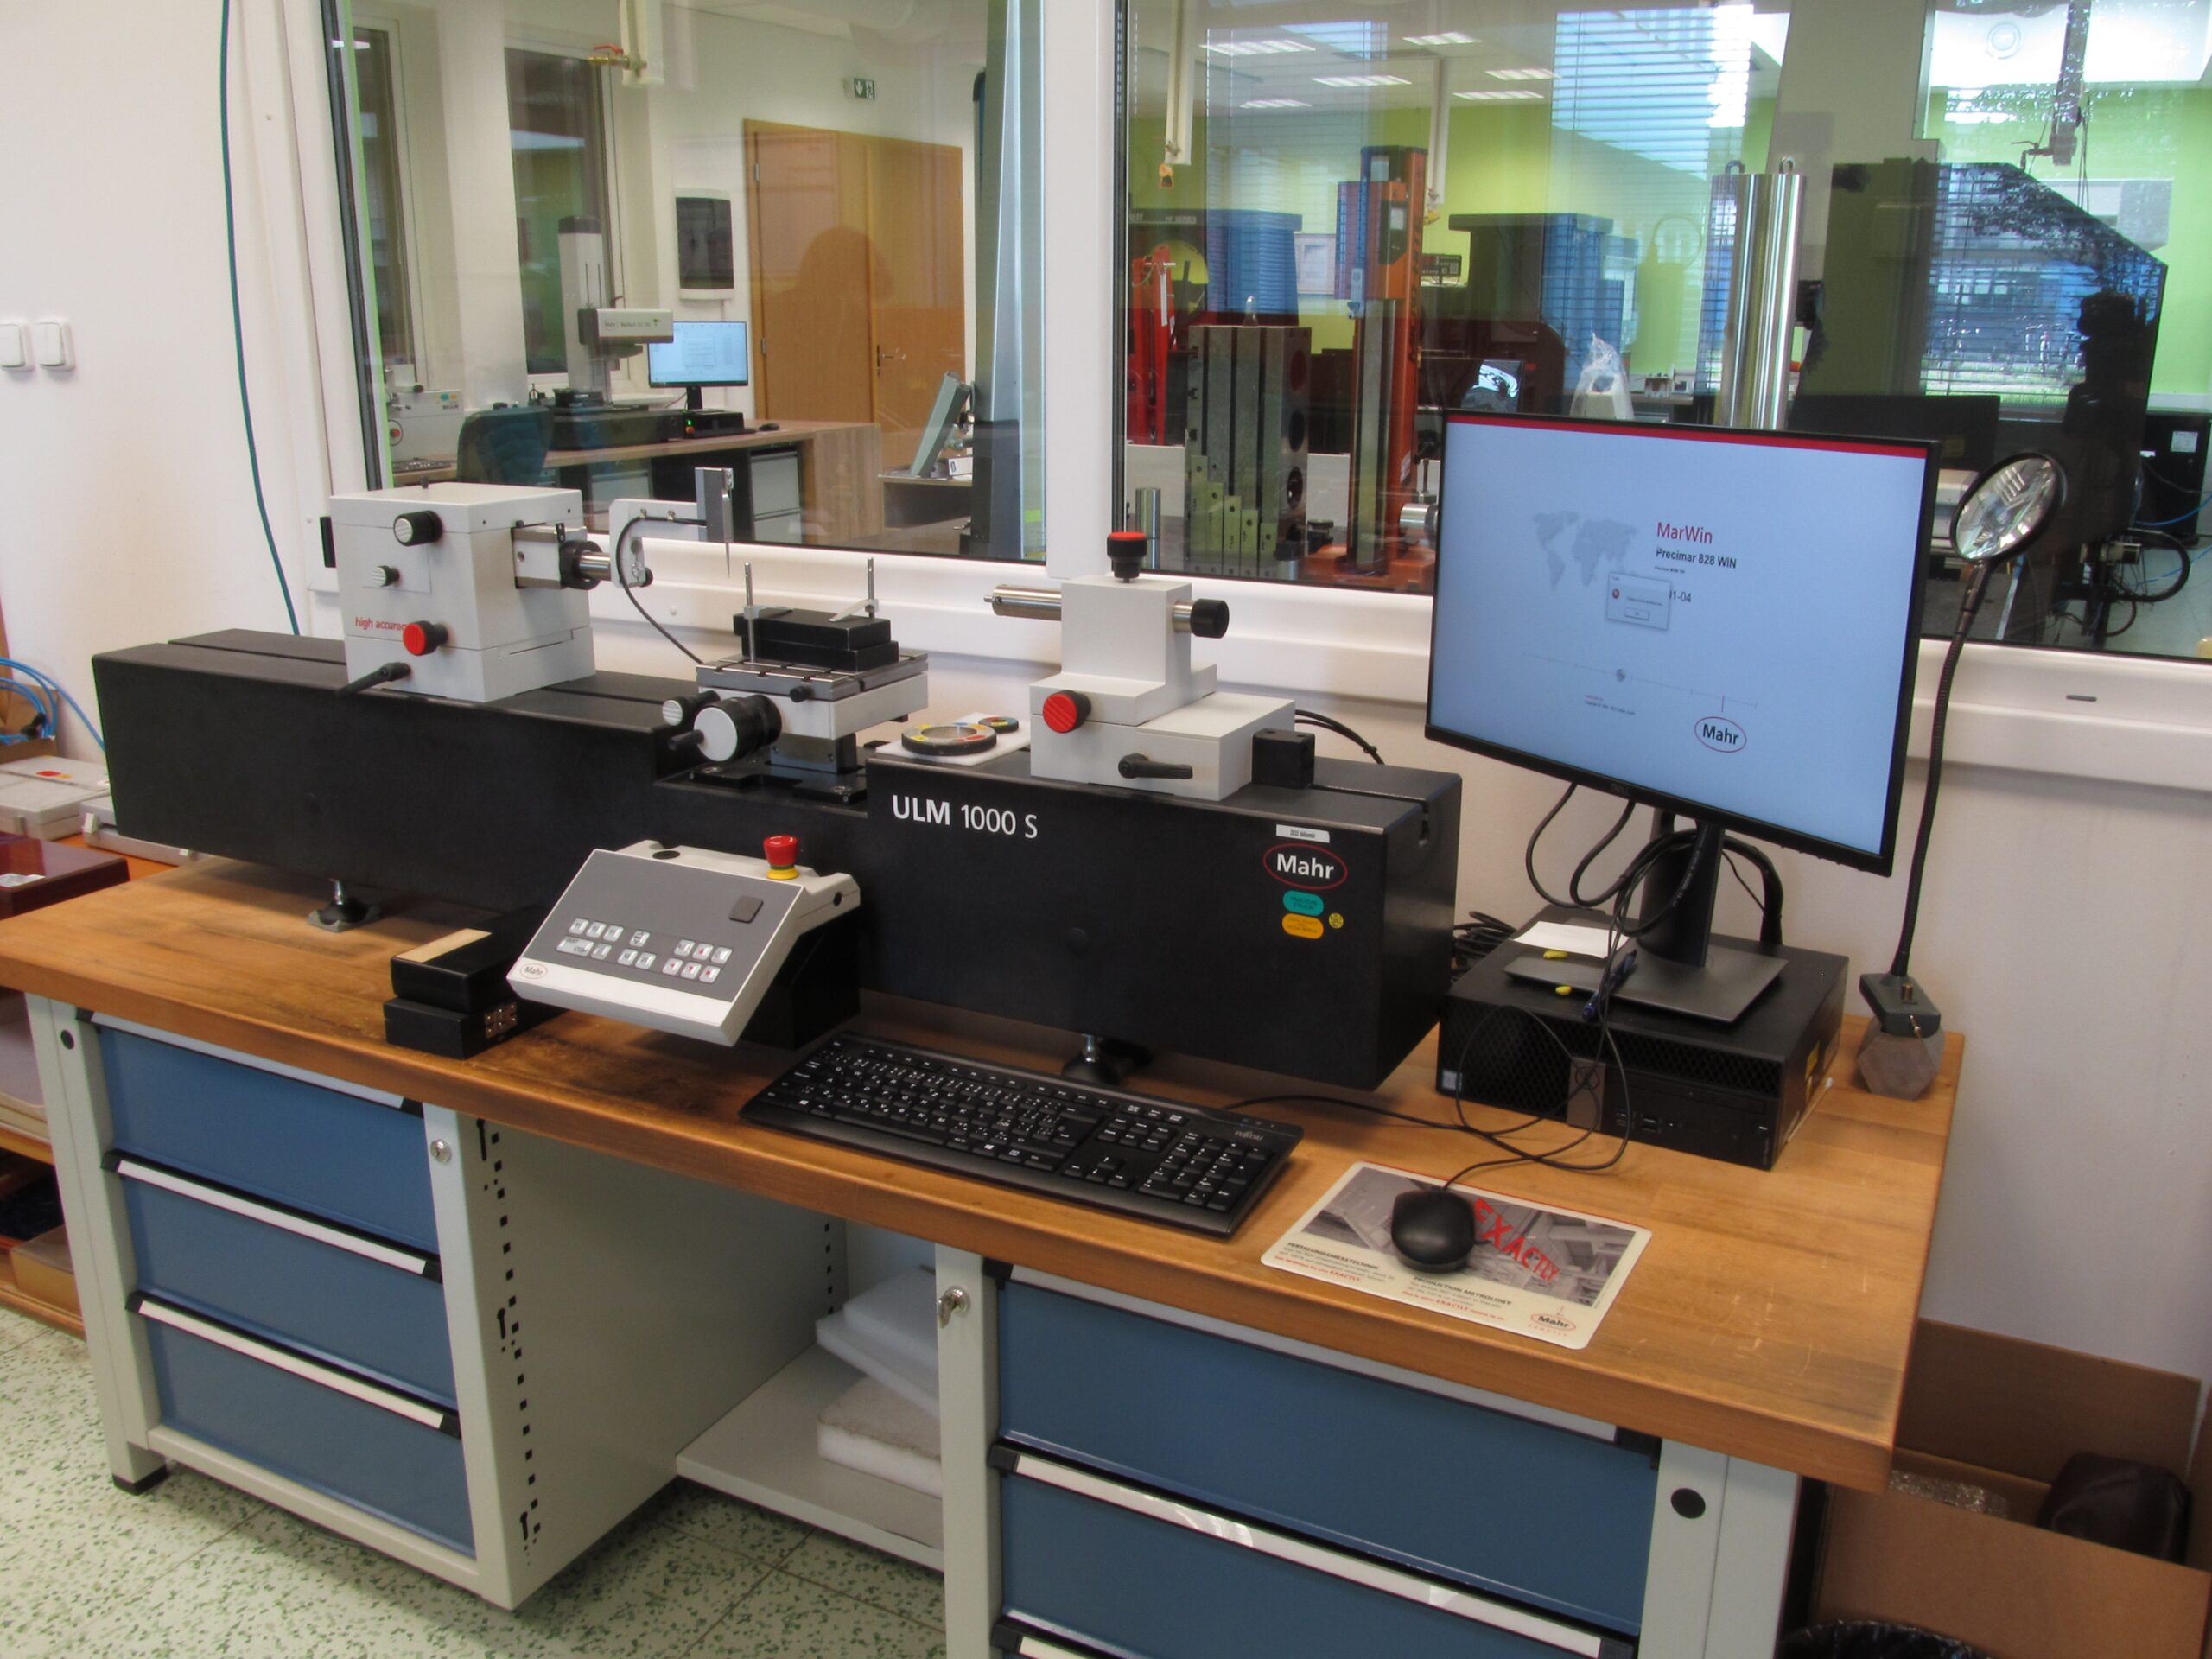
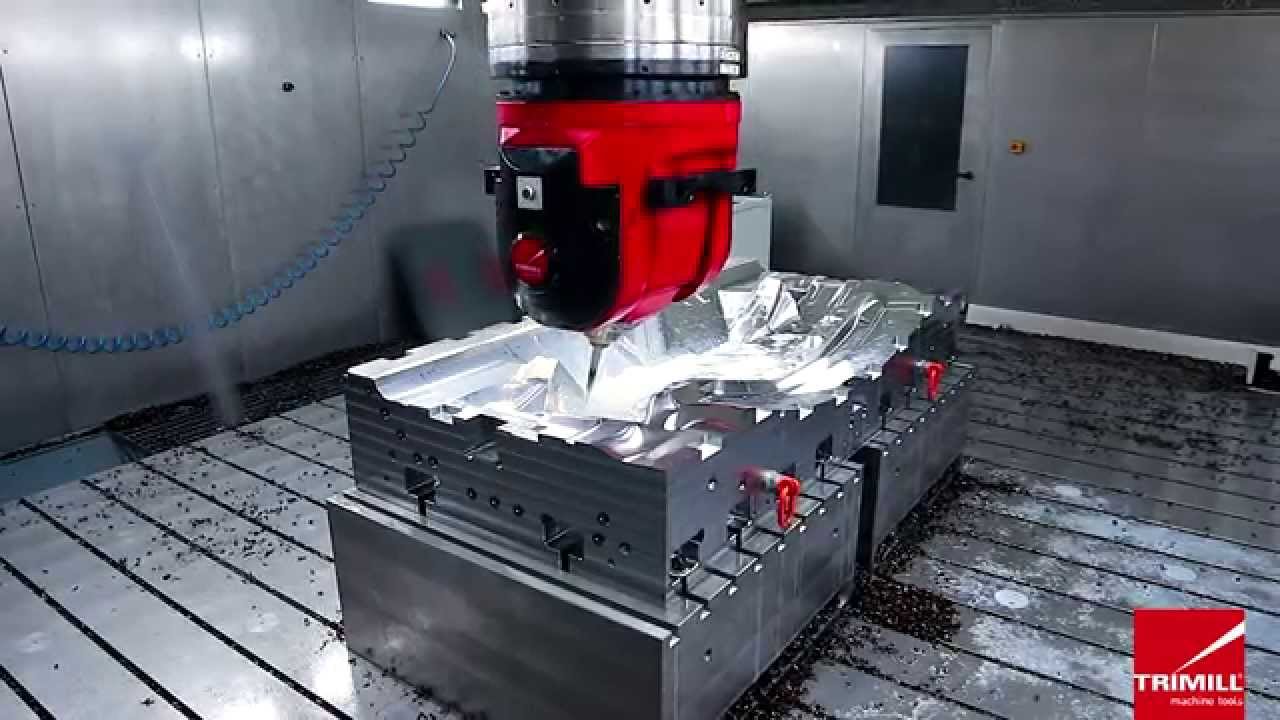
Our calibration laboratory most often uses the Renishaw XL-80 laser interferometer for extremely high accuracy measurements. This innovative instrument is used in a wide range of length, flatness or straightness measurements, from checking surfaces plates and straight edge rulers, to length measuring machine, microscopes and high-precision height gauges, to three-coordinate measuring machines, machining centres and measuring probes. Most often, we measure these instruments in specialised measuring rooms and laboratories, but also in production halls or at control stations on production lines.
To ensure maximum accuracy and reliability of the interferometer, we adhere to the strictest criteria in our calibration procedures. This makes them suitable for calibration in accredited mode.
Why the Renishaw XL-80 laser interferometer?
With this tool, we can make measurements with high accuracy and repeatability, which is key to achieving the highest standards of measurement. This instrument uses the interferometric principle to ensure data accuracy. This laser interferometer can measure up to a range of 80 meters while maintaining maximum accuracy, thanks to its precision stabilized laser source and accurate compensation for environmental effects.
The principle of laser measurement with the Renishaw XL-80 laser interferometer
The laser interferometer splits a single input beam of coherent light into two identical beams – a measurement beam and a reference beam. These beams travel along different paths and interfere before hitting the detector. The difference in the distances travelled by the beams constitutes the phase difference. This phase difference reveals anything that has changed phase along these paths. This can be a physical change in the path itself, or a change in the refractive index of the medium through which the beam passes
The phase difference also creates an interference pattern that is detected by the detector. For example, when measuring the flatness of surface plates, the detector picks up changes in the tilt of the optical mirrors and then calculates the deviation of the flatness of the straight plate relative to the ideal plane.
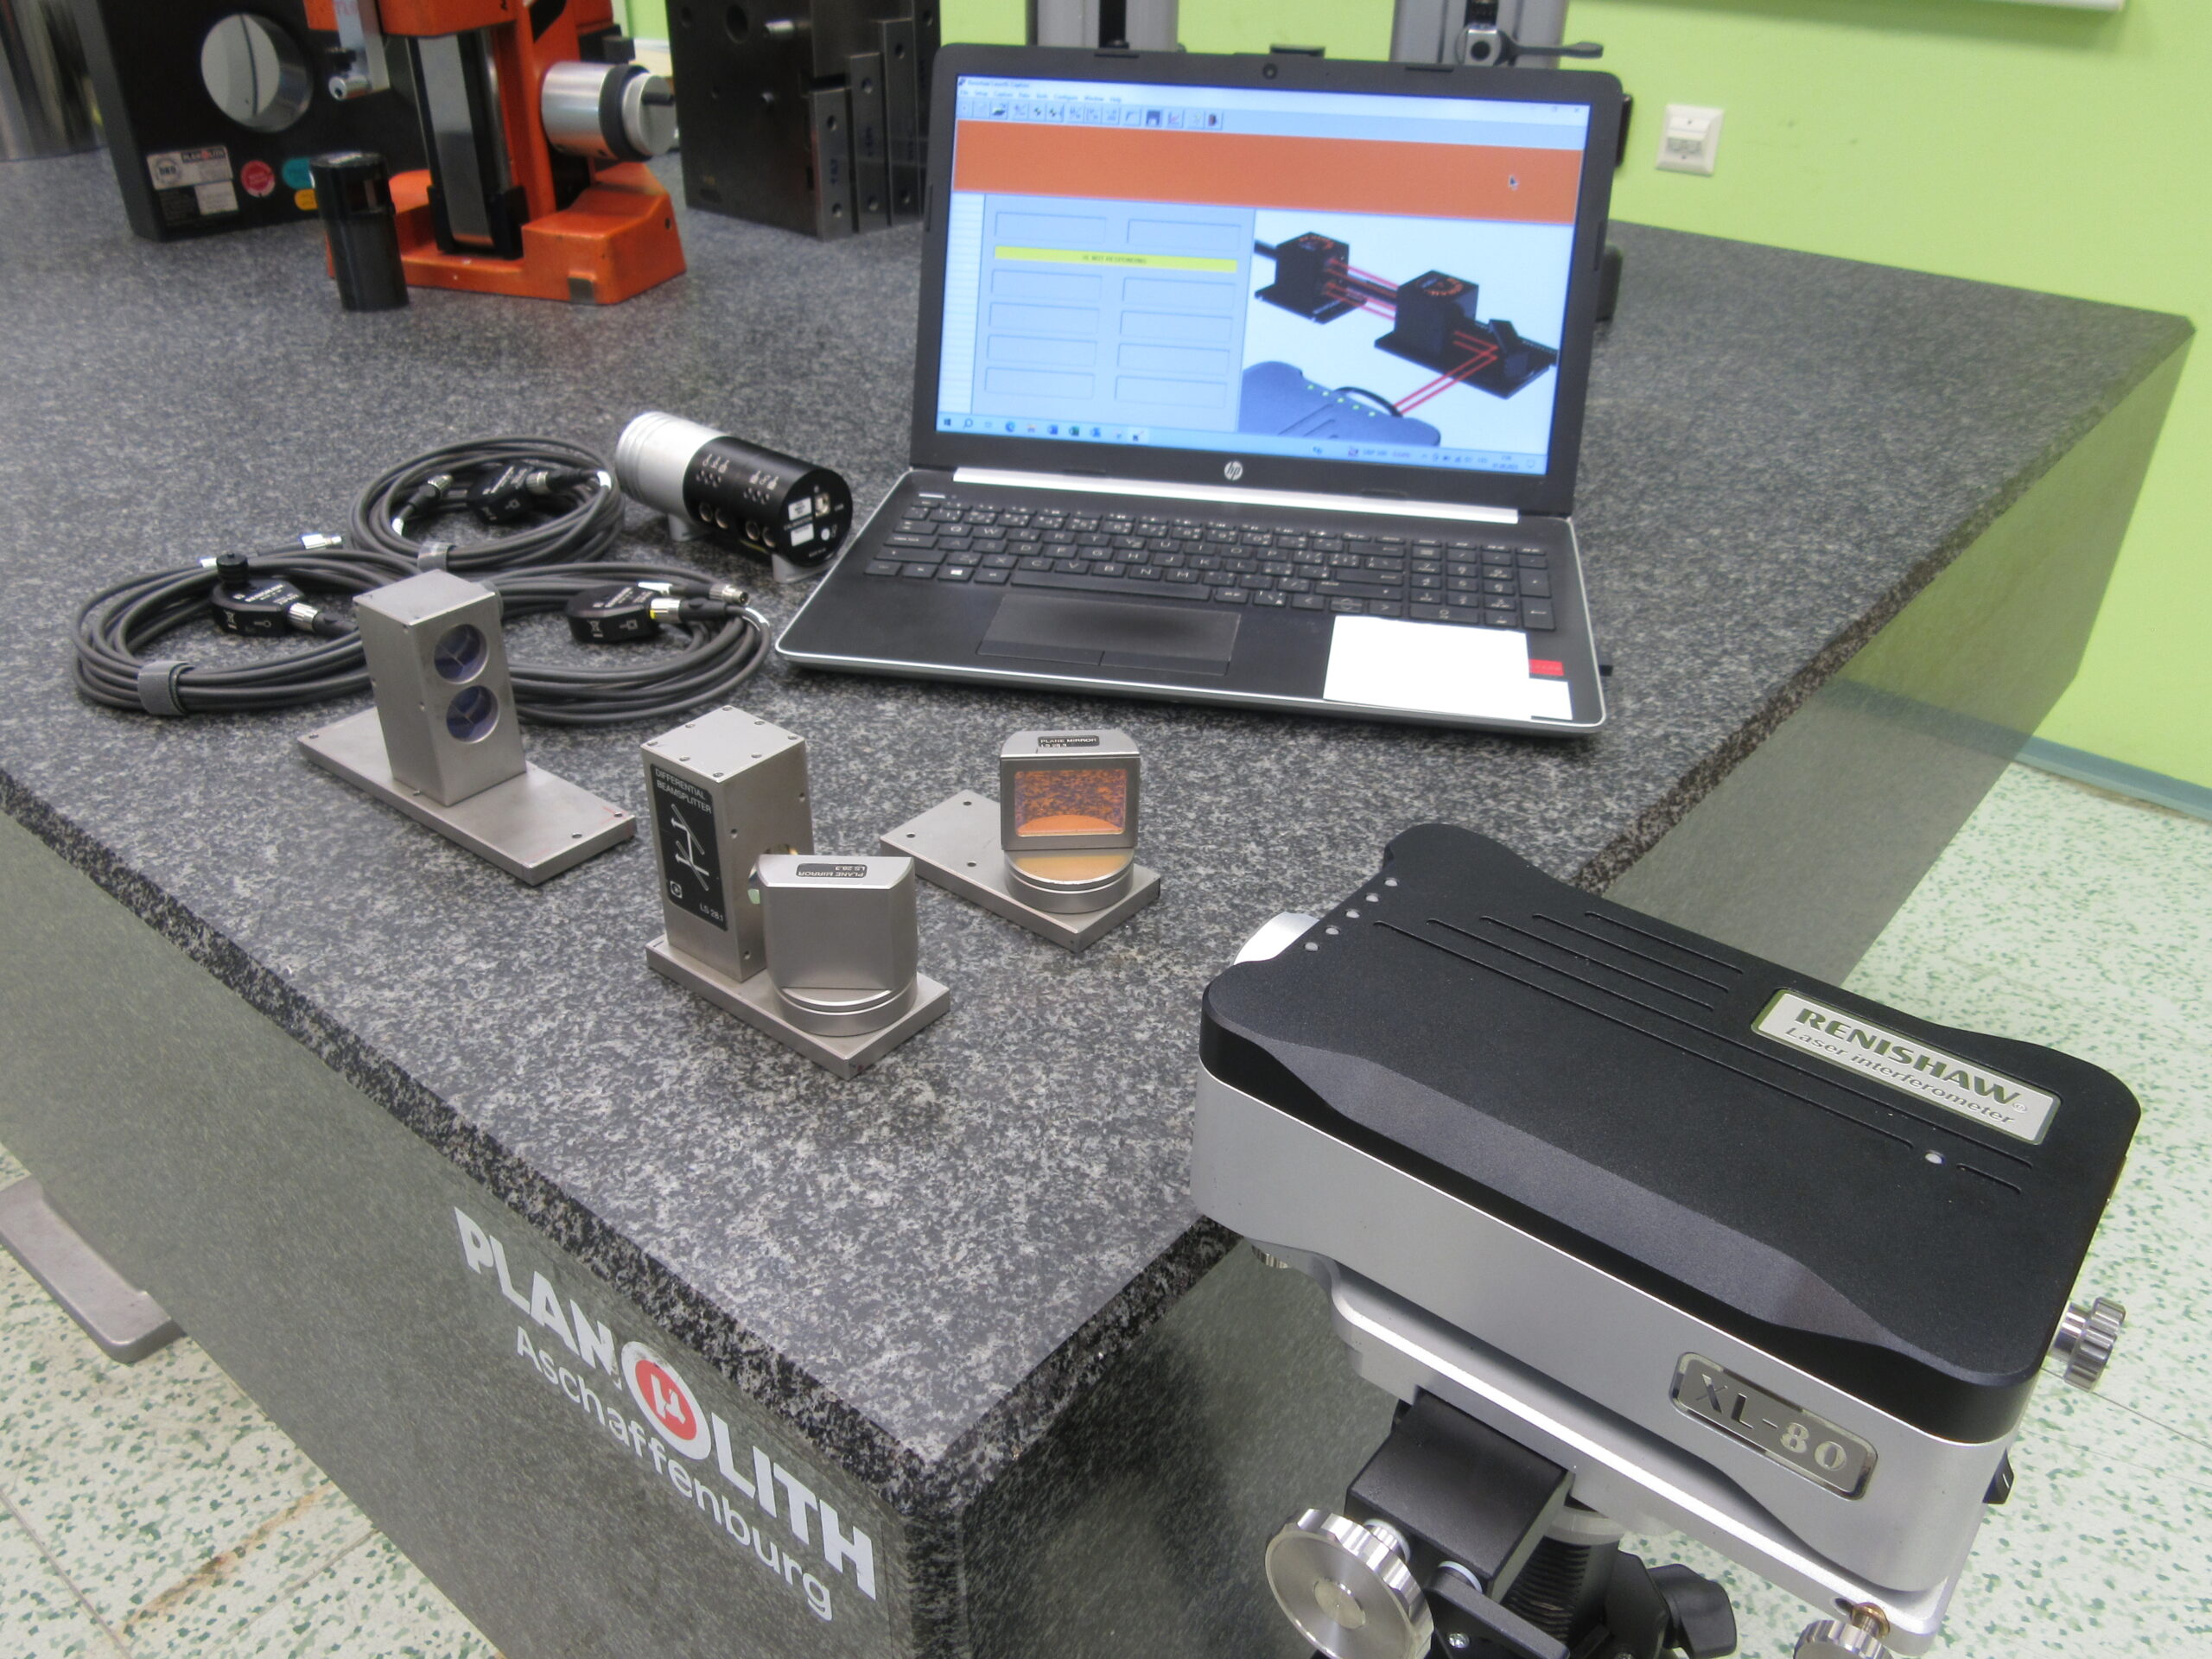
When using a laser interferometer, we must take into account that there are many factors that can affect the measurement results. These may include temperature changes, vibrations and the presence of other light sources. To solve these problems, we use temperature and atmosphere sensors that, in combination with the measurement software, compensate the measurement result with the measured values. These sensors are placed along the length of the instrument to be measured and the measurement software uses the coefficient of thermal expansion for the material to calculate the instrument’s deviation from the laser interferometer reference beam.
